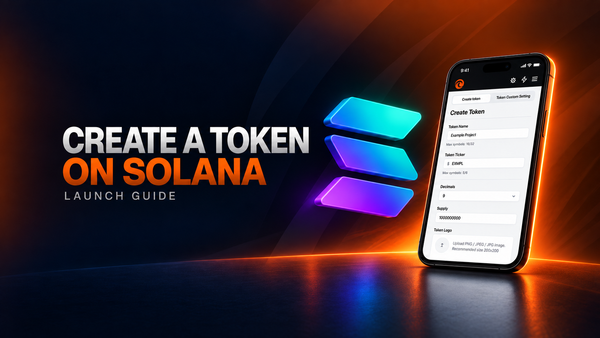
How token creation works on tsunammi
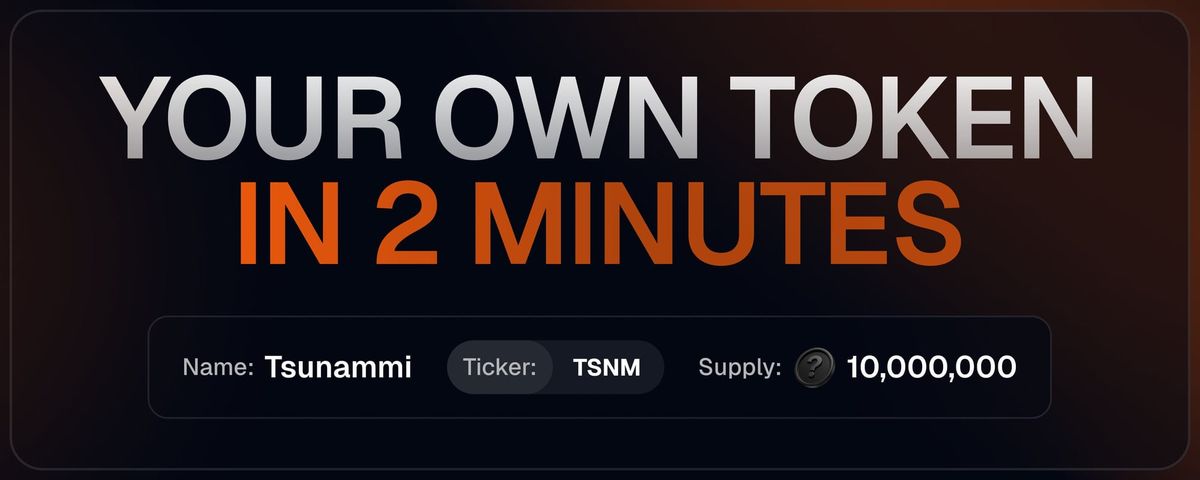
The Create Token tool on tsunammi deploys an SPL token in minutes. Just a form and a wallet.
And under ~0.05 SOL in fees → the lowest token launch cost on @solana.
Step 1 — Token Details. Name, ticker, decimals (default 9), supply, and logo.
Step 2 — Ownership. Connect the wallet that will own and control the token.
Step 3 — Social Links. X, Discord, Telegram, website.
Step 4 — Token Settings. Three toggles that define your token permanently:
- Fixed Supply — no one can mint more. Ever.
- Revoke Freeze (on by default) — holders can always transfer and sell.
- Immutable (on by default) — metadata is locked forever.
Step 5 — Create. Approve the transaction. Token is live.
And this is where most token creators leave you on your own. Tsunammi doesn't.Once your token is live, the rest of the toolkit opens up:
- Launch on PumpFun — go straight from token creation to a PumpFun launch without switching platforms
- Price Boost / Price Drop — market making tools to move price in the direction you need
- Smart Buy/Sell — automated trading activity that keeps your token looking alive on charts
- Wallet Pools — manage multiple wallets for distributed operations
- CEX Integration — connect CEX API and distribute funds directly
Token creation is step one. Everything after it is why Tsunammi exists.
Who this is for
Anyone launching a token on Solana who doesn't want to stop at deploy. If you're building on @Raydium or @Pumpfun and need creation, liquidity, and market making in one place — this is the toolkit.
Create yours → tool.tsunammi.io/token/create-token
Full toolkit → tsunammi.io
Documentation → https://tsunammi.gitbook.io/tsunammi/token-management/create-token